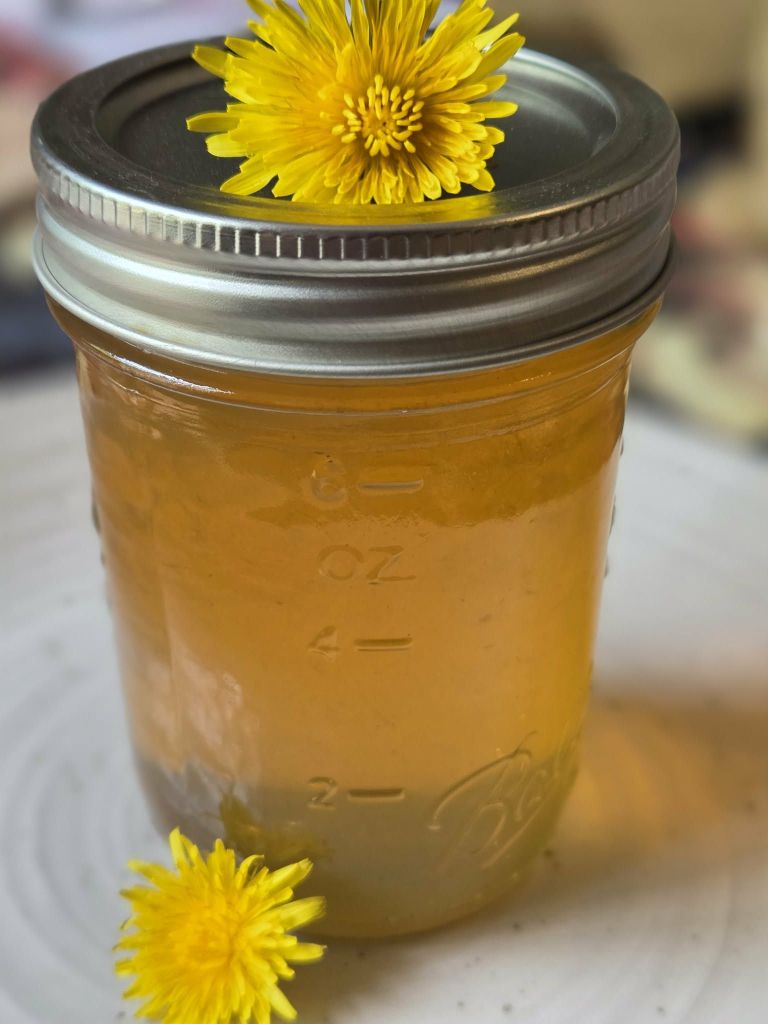
An easy yet rewarding jelly to make!
Why use herbs to make Jelly?
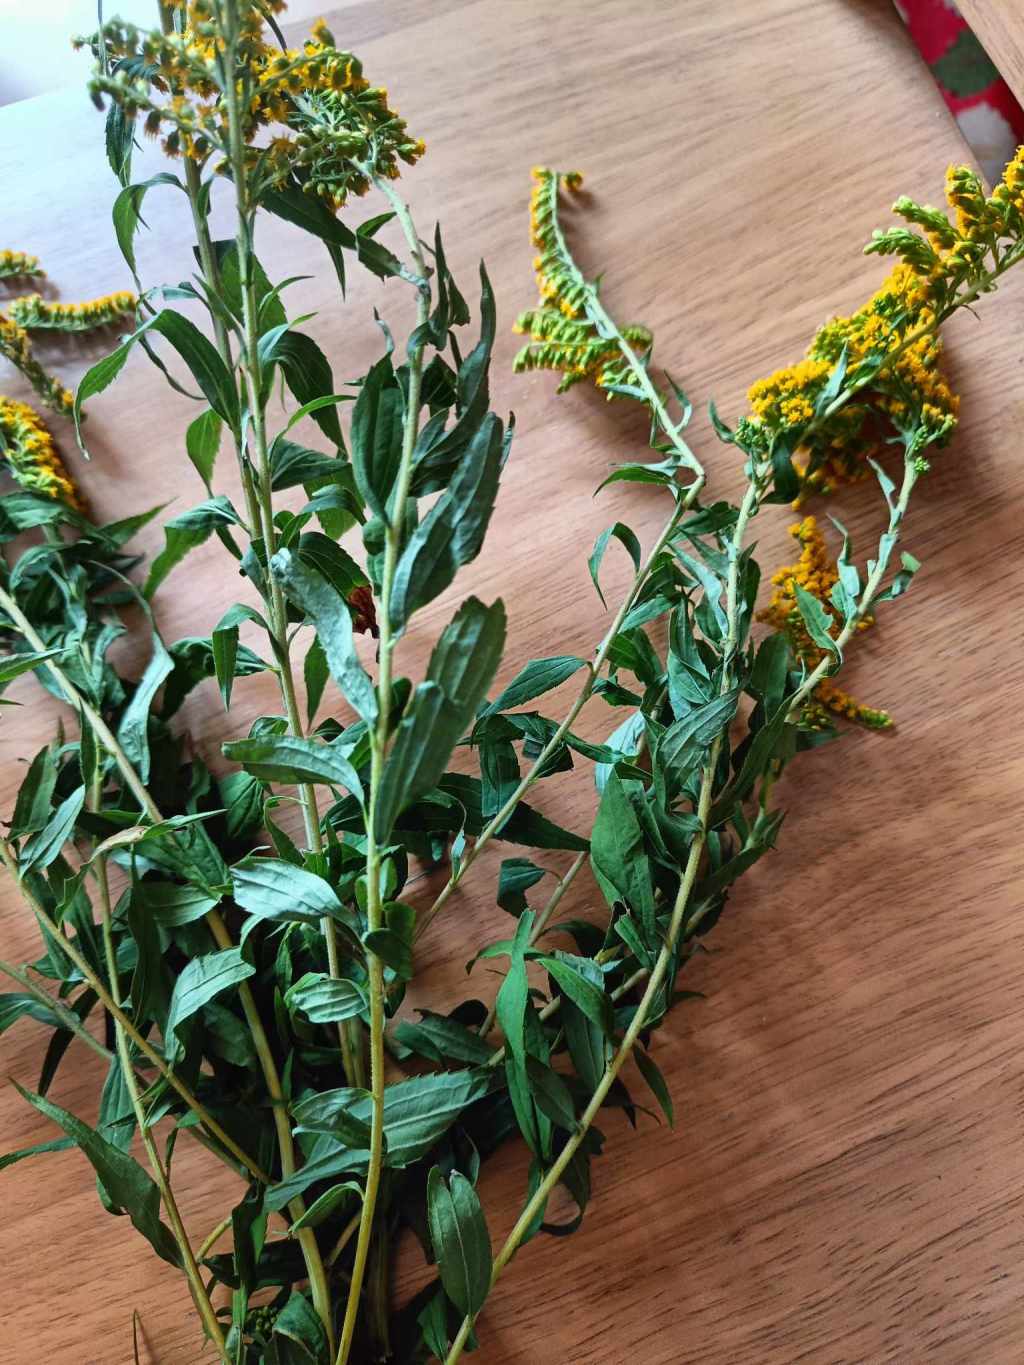
We do not always have abundant berries and fruit to make jam and jellies with. These humble herbs may not seem very impressive but they contain a delicate flavor and an abundance of health benefits for our bodies.
Dandelions are incredibly nutritious! Dandelions contain vitamins A, C, E, K, B as well as potassium, calcium, iron, magnesium and many other benefits. To make this jelly, we will only be using the petals, not the green part under the petals as this will make the jelly bitter. I am also adding lemon balm to this recipe but that is completely optional. Lemon balm adds even more volatile oils and antioxidants as well as antiviral and digestive benefits!
My Jelly journey started out of necessity several years ago. My son only ate a few select foods at the time (he is Autistic) and peanut butter and jelly was, and still is, one of his favorite foods. One day, we ran out of the normal grape jelly that we always bought from the store. I knew I had to do something because of the speed in which we went through jelly every day.
At this time I had just learned how to can using a waterbath canner. I began searching for recipes in my ball canning book and found it- Welches grape juice jelly. After making that grape juice jelly, I never bought jelly again. Though this was good in a pinch, I knew that I needed something a little healthier for my kids as I’d like them to get something beneficial nutritionally and with less chemicals and preservatives. And so I began making herbal jelly.
Fast forward to the present and I will explain my method of making a jelly that is both cost effective and healthy. And yes, I said healthy! Not to eat for every meal of course but as a topping here and there and of course for PBJ’s! There is a large amount of sugar called for in the recipe but it is spread between seven 8 oz jars. Not for one jar. Also, what a lot of people do not know, is there are some medicinal properties in herbs that are sugar soluble- so they extract well into sugar. I feel better knowing that my kids are eating jelly that I made with no preservatives and the added benefits from the herbs I use.
>>>>>Watch the video on how to make this recipe here:https://youtu.be/LRYBV7j0lyg
Recipe:
*4 cups of dandelion flowers (and lemon balm if using) (not the green part under the flower, just the petals)
*4 1/2 cups of boiling water (to steep the flowers
*1/4 cup of lemon juice (bottled or fresh)
*1 pouch of sure jell orignal pectin
How to make the jelly:
- Pick enough dandelion heads and lemon balm leaves to make 4 cups. Wash by placing in a colander and rinsing with water.
- Pull the petals off of the dandelion heads and place into a pot. Discard the green part (or compost).
- Place lemon balm leaves into the pot as well.
- Pour the 4 1/2 cups of boiling water into the pot (I like to use an electric kettle for this).
- Cover the pot and let rest for about an hour.
- Pour contents (with the herbs) into a bowl. Cover. Place in the fridge overnight to steep.
- The next day, remove the bowl from the fridge and strain the contents into a pot. You should have about 4 cups of “tea” from the dandelions and lemon balm. If you have less, you may need to add some water.
- Set up your canning equipment including a waterbath canner, cleaned and sterilized jars and lids (you’ll need at least seven 8 oz jars and lids), a towel to place the jars on.
- Fill your canner with water and turn on the heat.
- Place your jars into the canner to be heated.
- Begin by turning on the burner to medium for your pot filled with the strained tea. Add the lemon juice and pectin and whisk or stir to combine. You’ll want to dissolve them quickly.
- Next, bring to a rolling boil, stirring frequently gradually increasing the heat until you reach the rolling boil.
- Once you reach a full rolling boil, add the sugar. Stir very well to ensure there are no clumps.
- Turn the heat to high. Bring the mixture to a rolling boil again. This time when you reach a rolling boil, set your timer for 1 minute and stir continuosly. This step is important to the jelling of your mixture.
- After one minute, turn the timer off and remove from heat.
- At this point you can either do a jell test to make sure your jelly is setting up or you can begin filling your jars.
- To do a jell test, I like to put some jelly on a spoon and place in the freezer for a few minutes. Then remove the spoon and examine the thickness. If your jelly is not setting up, you can try to boil longer.
- Begin carefully filling your jars to 1/4 and inch headspace.
- Wipe down your rims with vinegar.
- Place your lid and ring finger tight and place into the canner. Repeat for all jars.
- Close the lid of the canner and bring to a rolling boil.
- Process for 15 mintues.
- Let the jars sit in the canner until the bubbling stops.
- Remove the canner lid and lift out the jars with canning tongs.
- Place the jars on the towel and let sit for 24 hours undisturbed.
I hope you enjoyed this recipe! Let me know if you’ve tried making this jelly!
-Jessica


Leave a comment